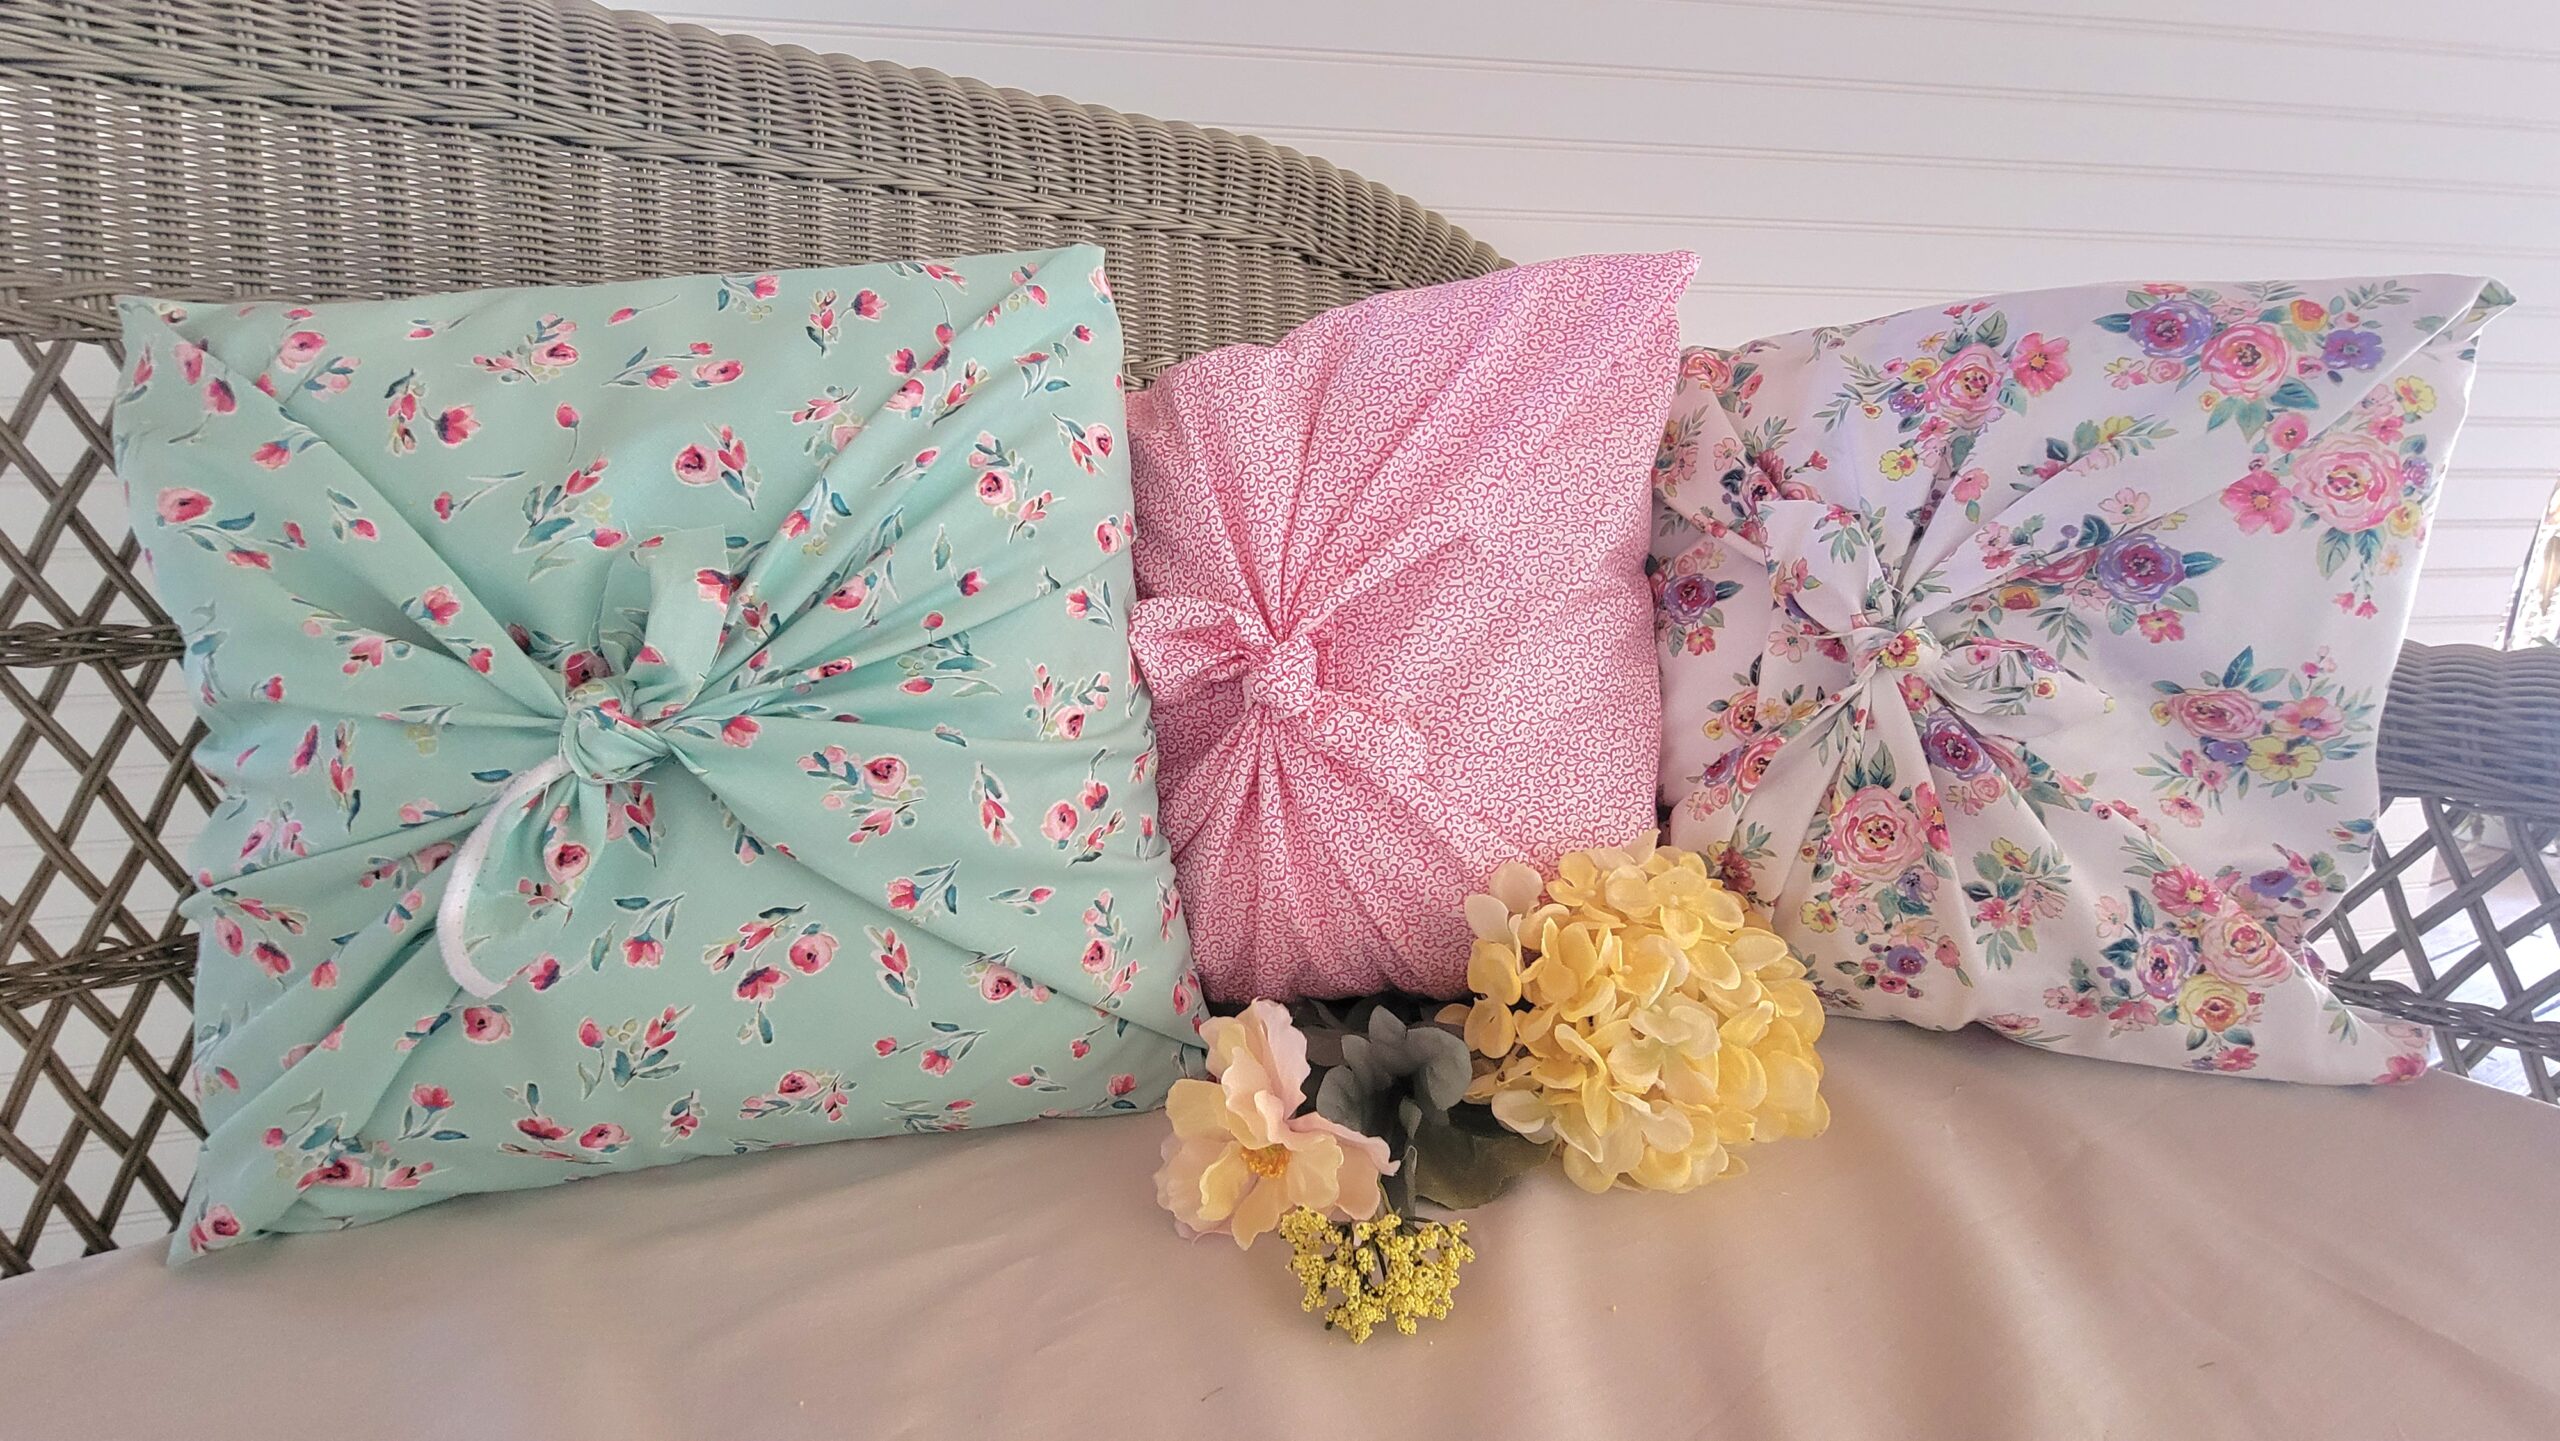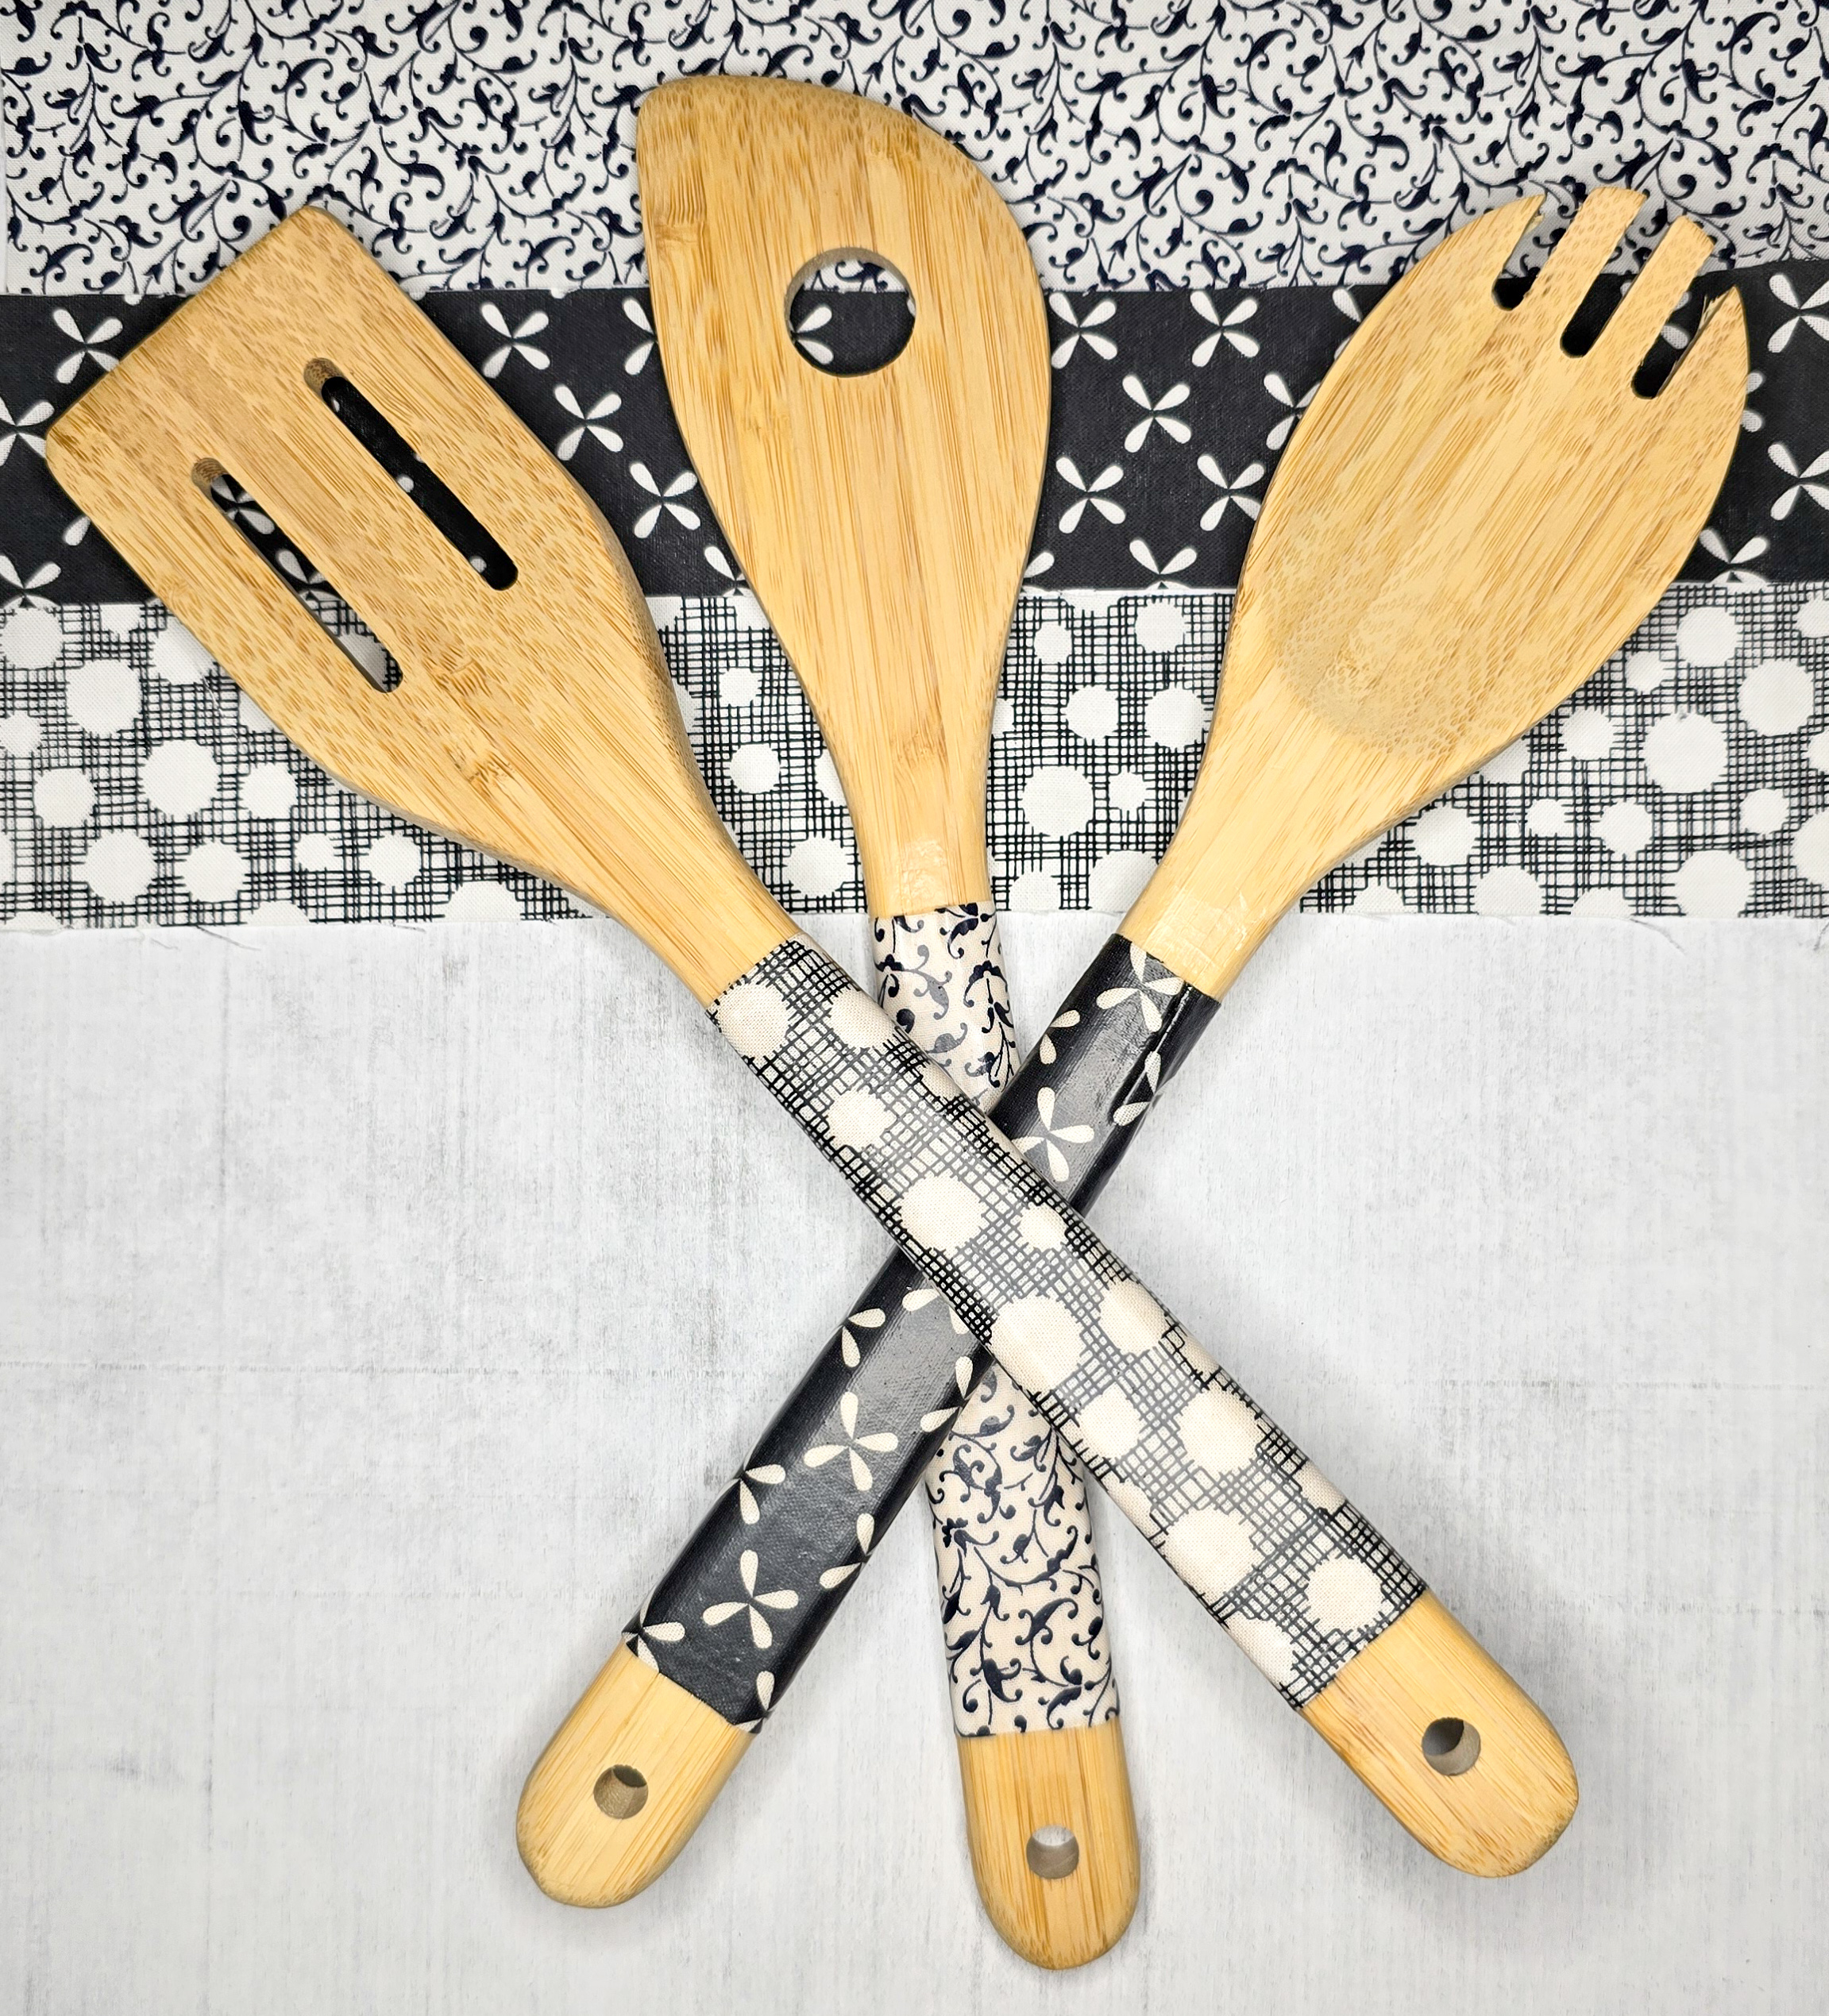
You know all those fabric scraps that you’ve been hoarding collecting? Let’s give those little fabric scrappies a new lease on life. This is one of my favorite scrap-busting projects: making fabric-covered wooden kitchen spoons!
These charming spoons are a perfect way to use up your fabric stash and create something unique and practical. Craft a wooden spoon set that matches your kitchen or make a delightful personalized gift for friends and family. Need a housewarming gift? Look no further! A set of wooden spoons that match the recipient’s new kitchen is about as personal as it gets. Plus, they make fantastic holiday package toppers for your favorite cook.
This is an easy project that’s a win-win—cute and useful! Plus, check out the steps below to see that it’s the world’s easiest craft!

How to Make Fabric Wrapped Kitchen Spoons
The following instructions are ridiculously short. Yeah, it’s that easy.
Gather Your Materials and Supplies
- Wooden kitchen spoons – round-handled or flat-handled, choose your favorite.
- Fabric scraps – coordinate your fabric scraps to create a specific color palette or grab them willy-nilly.
- Mod Podge (matte) – for the first two coats.
- Mod Podge (hard coat) – for the final sealing coat.
- Wide, flat brush paint brush or foam brush – for slathering the Mod Podge products onto your handles.
- Rotary cutter or scissors
- Cutting mat – if you’re using a rotary cutter.
Step-By-Step Directions
And by this, I mean basically two steps over and over.
1. Cut Your Fabric Scraps.
Using a rotary cutter and mat (or just a pair of scissors), cut your fabric scraps into even pieces. The spoons I am using here are flat-handled, so I made my scrap pieces 3″ wide so a single piece would cover the entire front side and then another to cover the backside. If you have the round-handled ones, then 1 1/2″ wide scraps are going to work just fine.
For any of the spoons I have used, I make the strips about 5″ long. But honestly, we are basically decoupaging these pieces onto the wooden handles. So a little wider or a little less wide won’t matter much because you can always add another piece as needed.

2. Apply Mod Podge (matte).
Make a little mark at the place where your fabric will start on the handle and will end by the spoon part. The Mod Podge will only need to be applied between these marks. Now using your brush, apply the matte Mod Podge to the spoon all the way around the edges. Place a fabric strip onto the spoon and coat over the top of all fabric with more Mod Podge to hold it in place. Brush it so the fabric lies evenly and is pressed tightly against the spoon (also eliminating air bubbles).

If your spoons are flat-handled, a second piece of fabric can be added to the back of the
spoon now, too. If your spoons are round-handled, you may not need to add another piece
of fabric. Do what you need to do. Let your spoon dry for 15-20 minutes.
3. Apply a second coat of Mod Podge.
Smooth the fabric at the ends. Let it dry for 15-20 minutes.

4. Apply the Mod Podge hard coat as your final coat.
This layer will make the spoon water proof (or resistant). You could opt to add a second layer of the hard coat if you’d like. Let the spoon dry overnight.
It’s fine to use the spoons once they have dried for 24 hours. However, I wouldn’t submerge the handles in water until the hard coat is completely cured (several weeks).

Do you have any cooks on your Christmas list? Tie this adorable wooden spoon set set to the top of their gift!