These fabric flowers are a great scrap buster and take literally minutes to make – even for beginning sewists. Plus, you don’t need a sewing machine! Just fabric, thread, a glue gun, and a little hand stitching. Whether you’re adding a handmade touch to gifts, decorating a wreath, or sprucing up a tote bag, these adorable flowers are as fun to make as they are to use!

Gather Your Materials
- Cotton Fabric – Time to raid your fabric scrap stash! Any cotton will do, but this is a great chance to mix and match prints.
- Sewing Needle & Thread – Choose what works for you: regular sewing thread (doubled up for strength), embroidery floss, or even upholstery thread. I usually just double or triple my regular sewing thread.
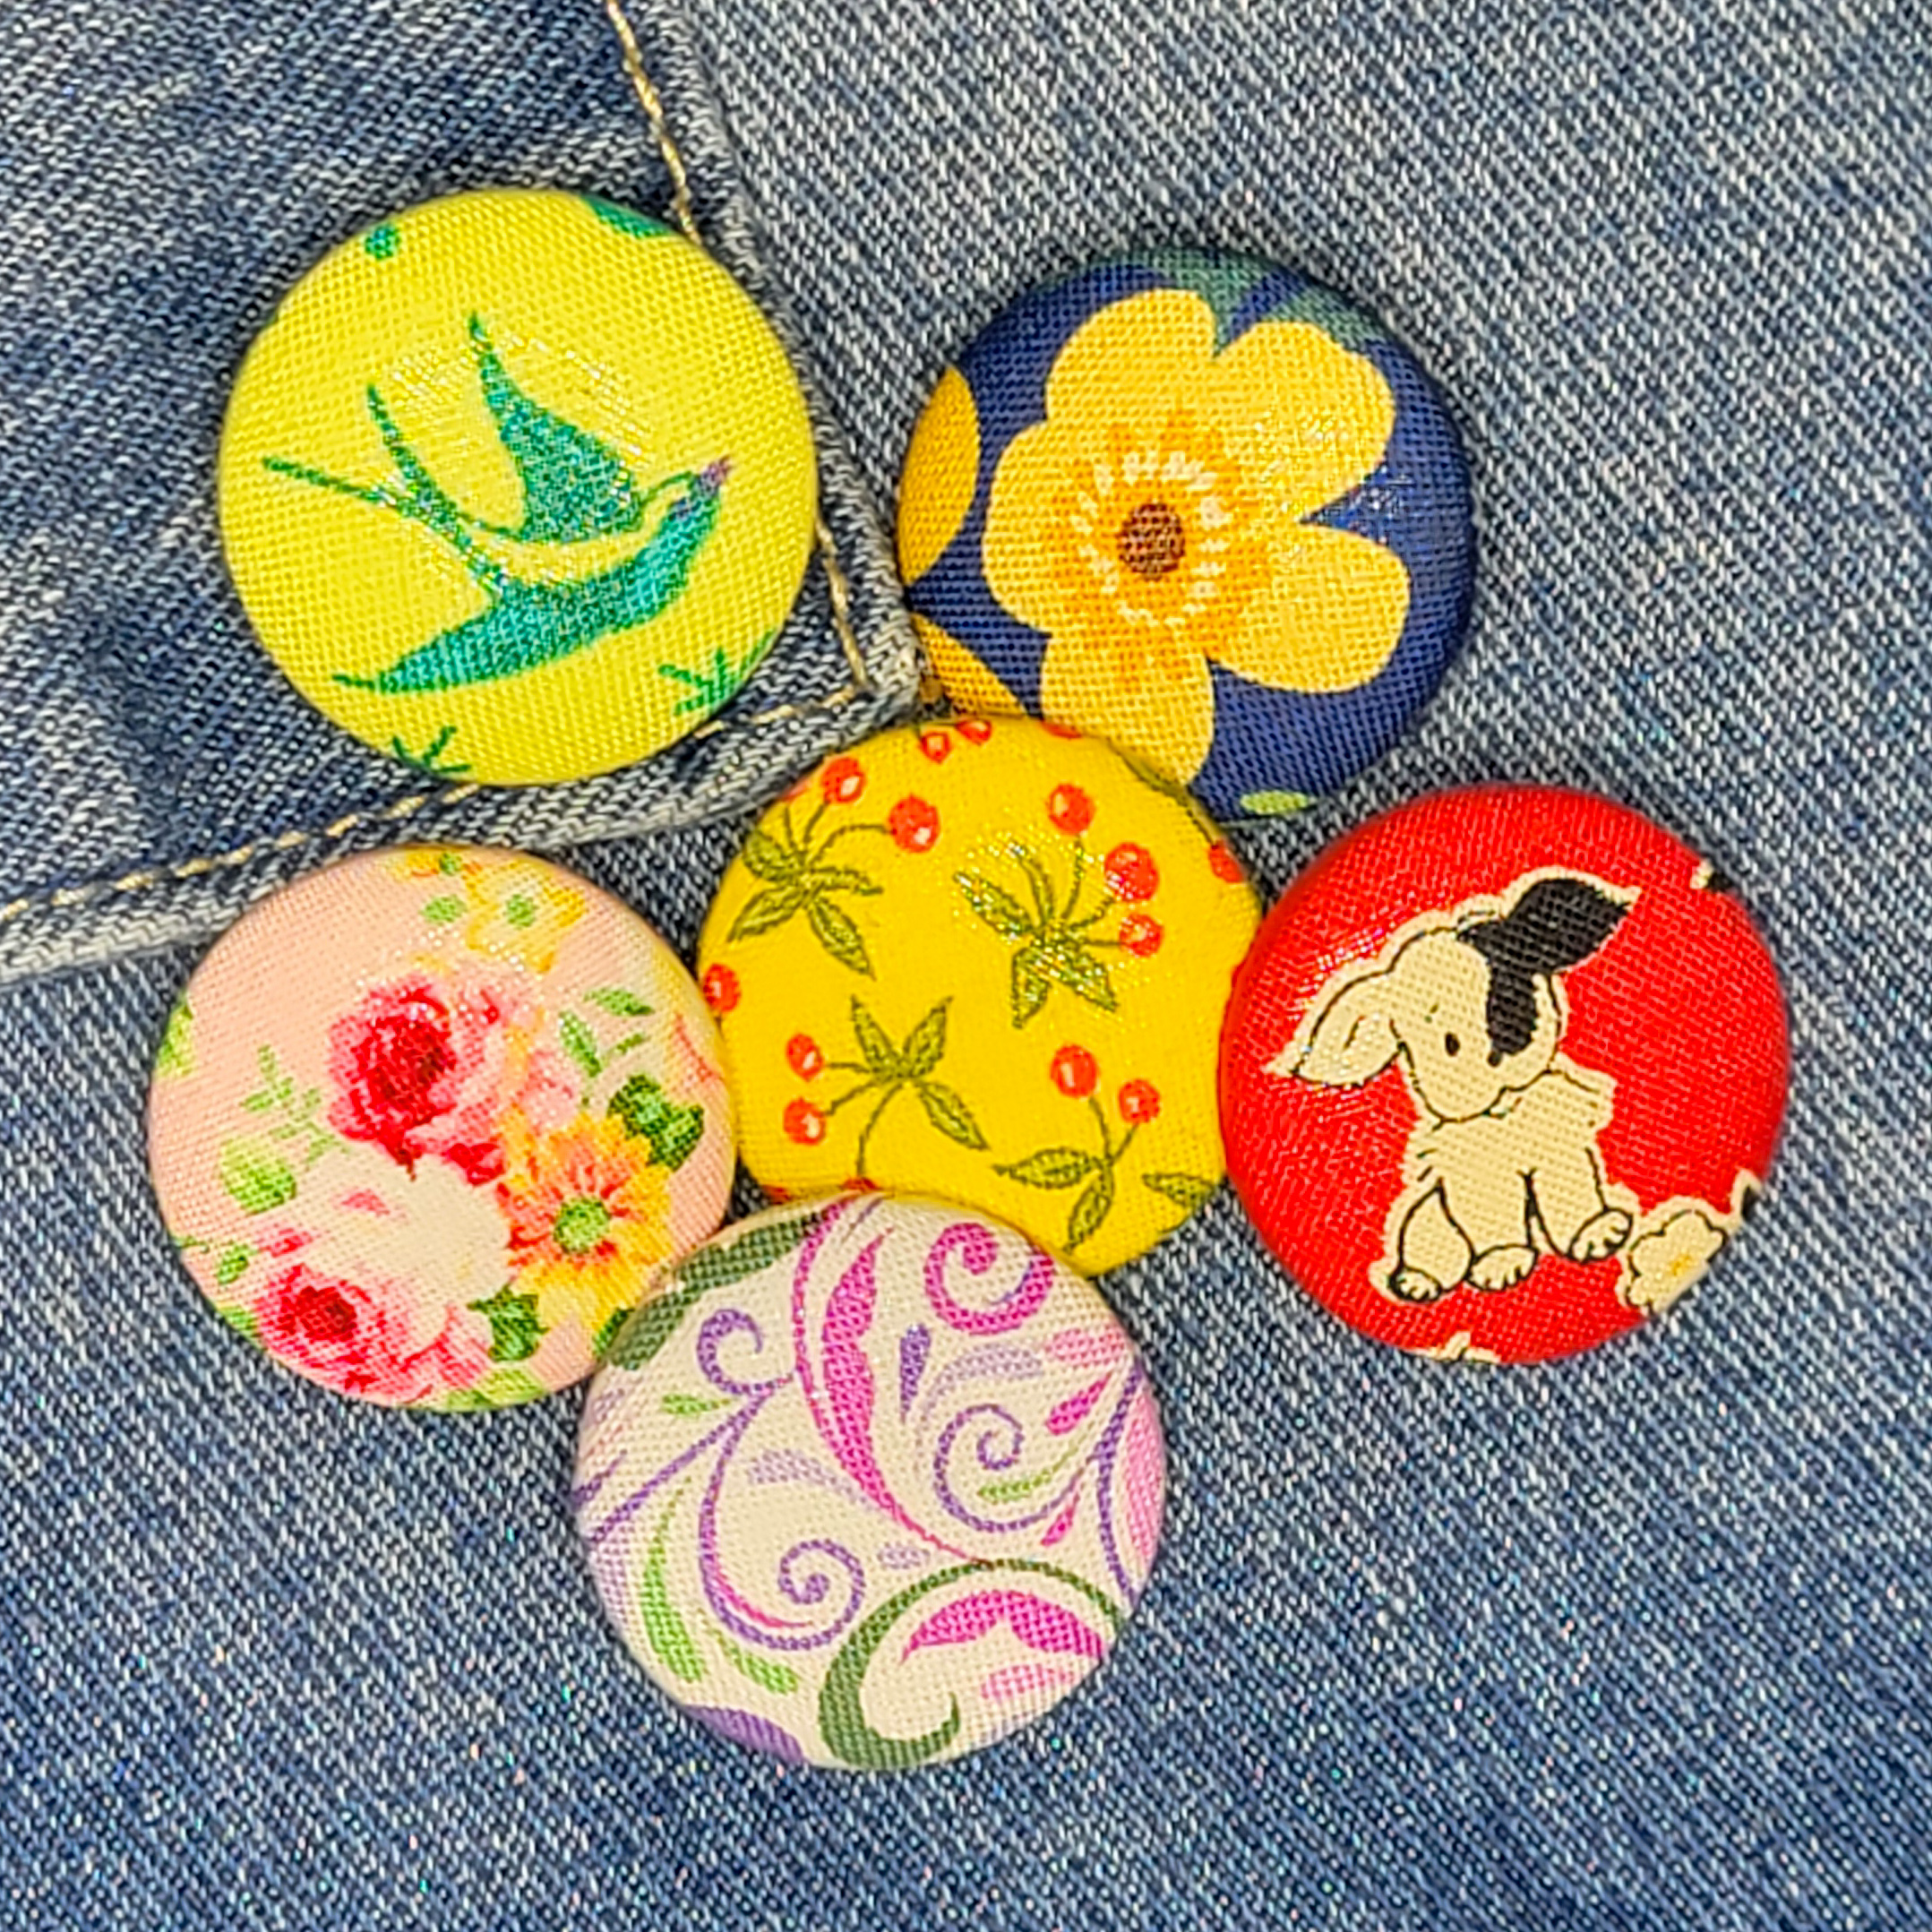
- Buttons – These will be your flower centers. I’m partial to vintage shank buttons, but honestly, anything goes!
- Felt Scrap – This little piece will tidy up the back, hiding raw edges and giving you a great base if you want to attach a pin. Felt is my go-to, but any sturdy fabric works.
- Hot Glue Gun – I prefer a low-temp glue gun (because, let’s be honest, no one likes scorched fingers – ask me how I know). But you do you!
- Basic Sewing Supplies – Scissors & an iron are all you need.

Step 1: Cut and Press the Petals
- Cut six fabric circles, each 4 inches (10cm) in diameter. Want smaller flowers? Try 3-inch (7.5cm) or 2-inch (5cm) circles. I like to use a jelly jar or small bowl for tracing circles quickly.
- Fold each circle in half with the wrong sides together and press to create a neat semi-circle.
- Fold it in half again to form a quarter-circle and press.

Step 2: Hand Sew the Petals
- Thread a needle with double thread and knot the end.
- Hand sew along the raw edges of your folded quarter-circle using a running stitch. Make sure to catch all layers and secure the ends with a stitch.
- Slide the petal to the knot at the end of the thread.

Step 3: Gather the Petals
- Gently pull the thread to gather the petal into shape—watch your flower start to bloom! Keep that tail of thread at the end.
- Repeat with the next five petals, sewing them in the same way to create a string of petals.

Step 4: Finish Your Flower
- Grab both thread ends and pull nice and tight to close the circle, then tie a secure knot (I like to double or triple knot it for extra hold).
- Trim any excess thread.
- Flip your flower over and glue a small felt circle (or sturdy fabric) to the back to cover the raw edges.
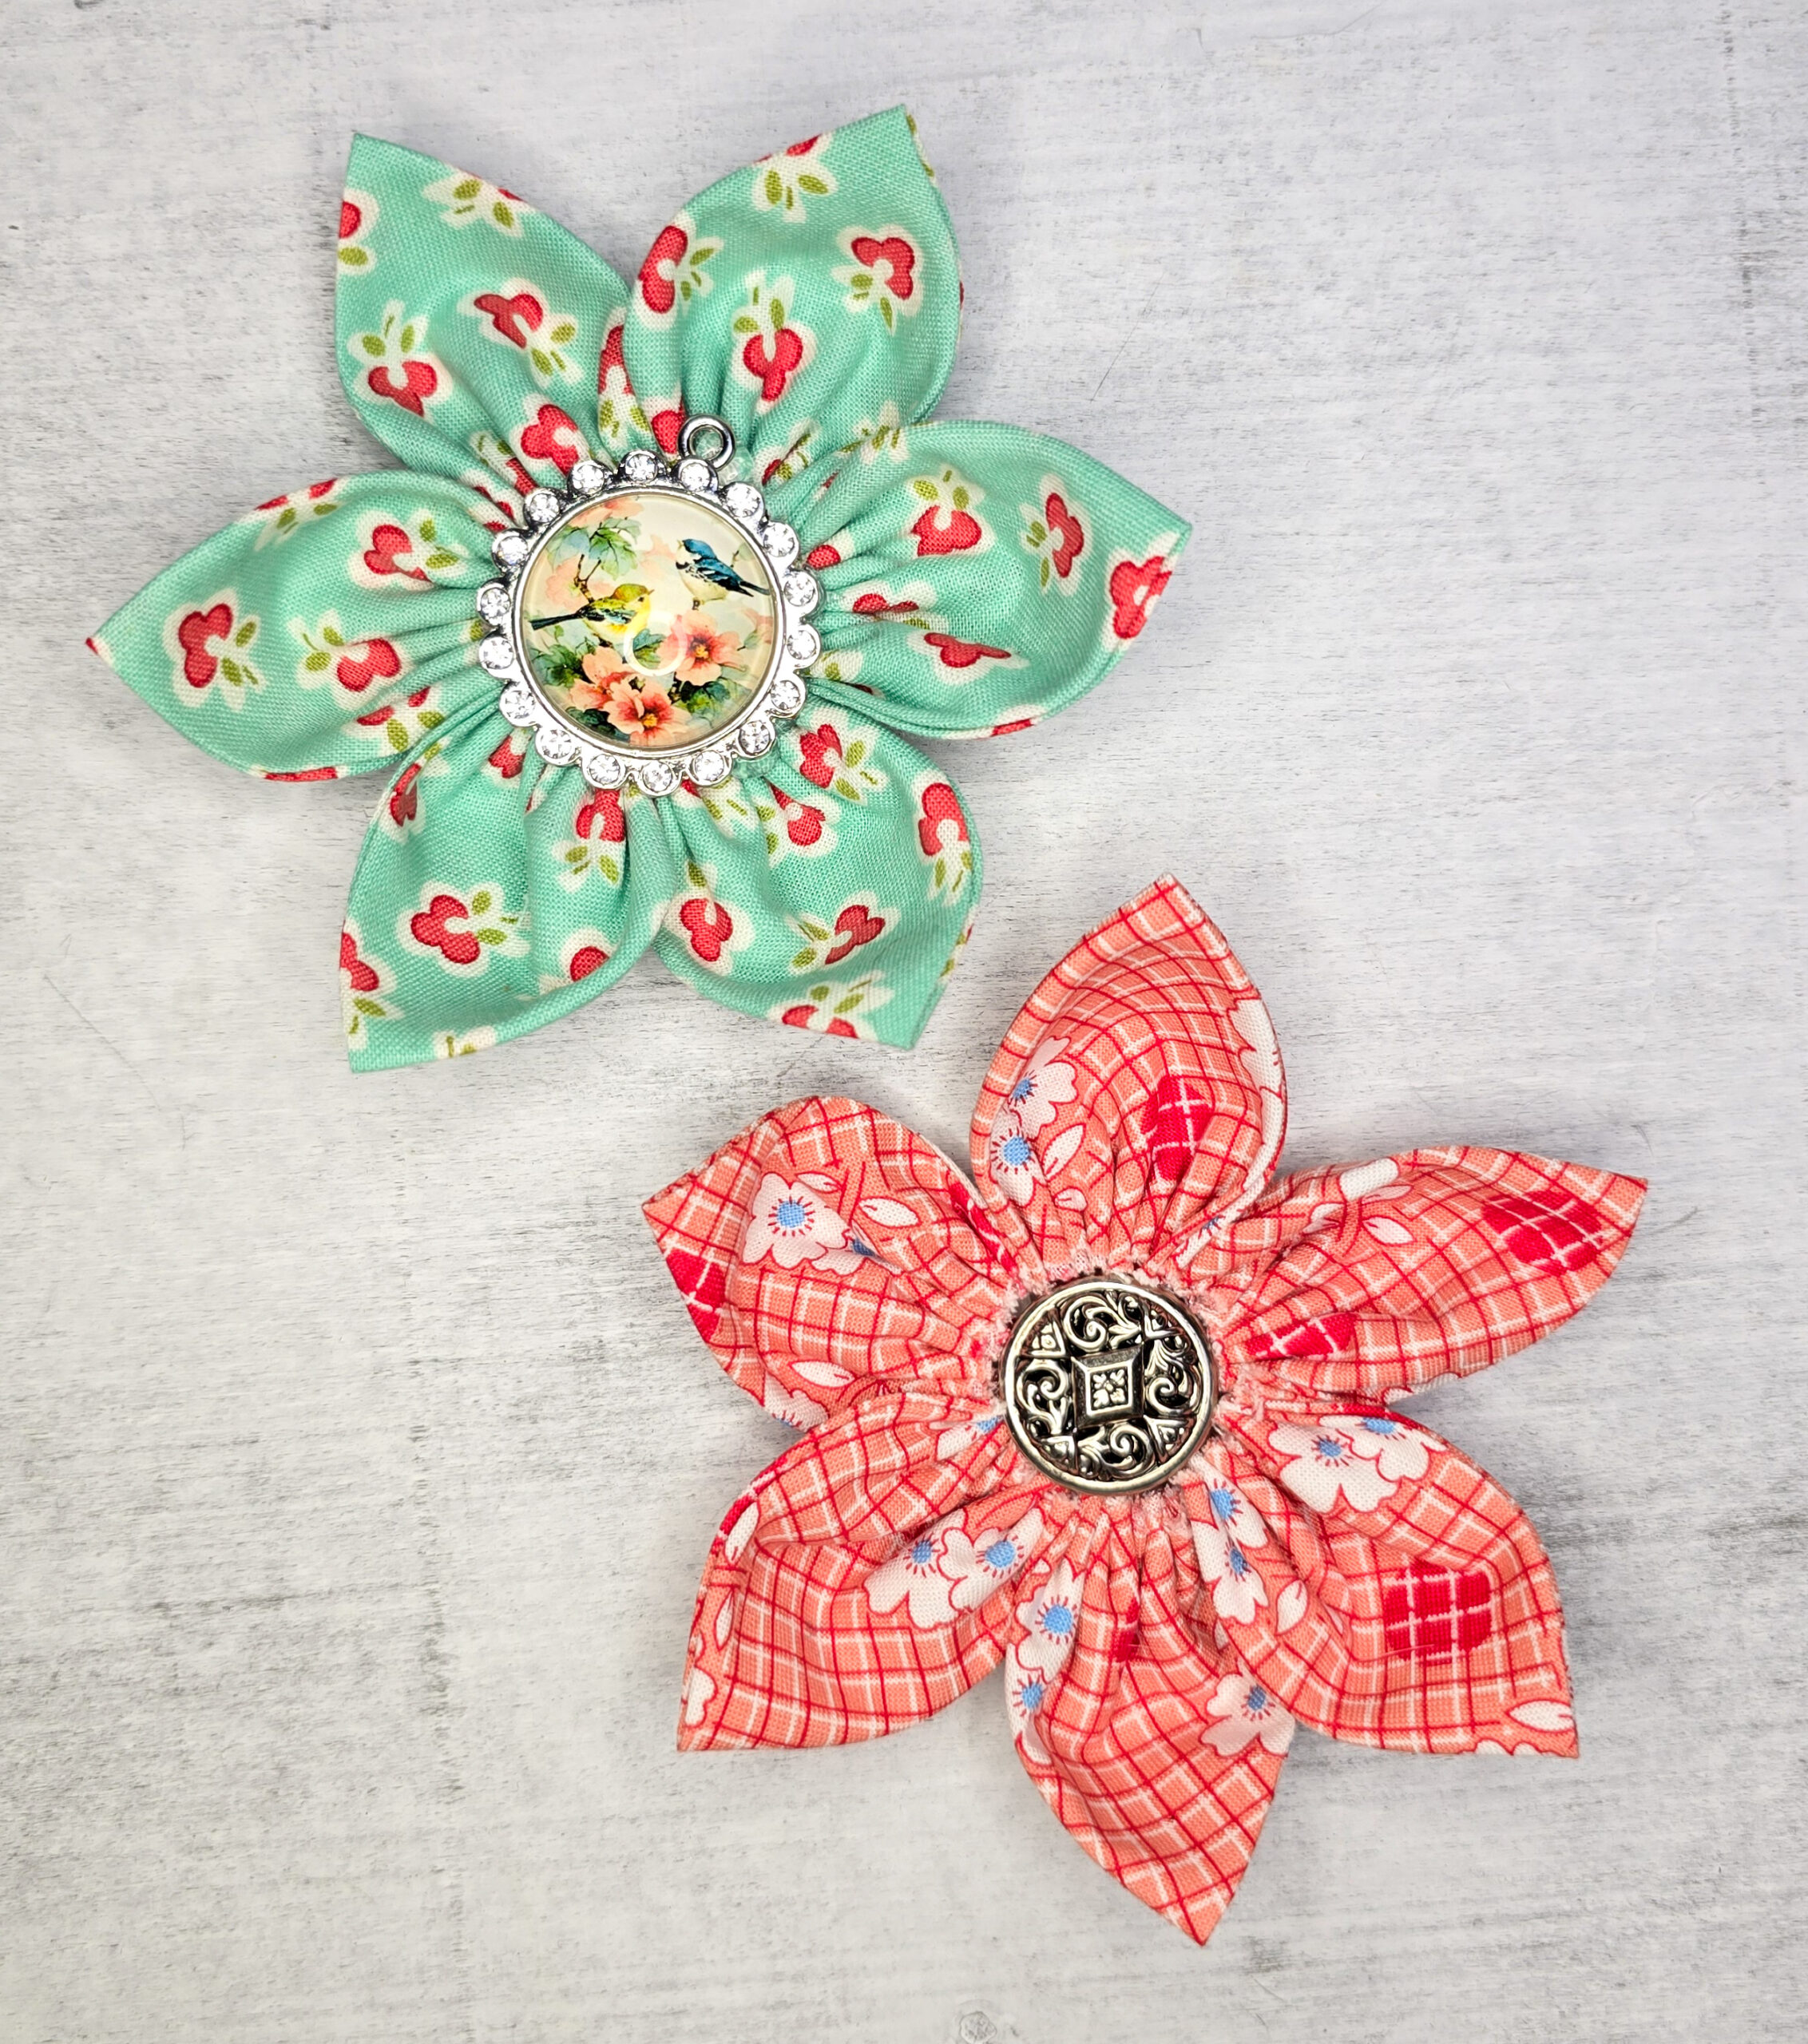
- Finally, glue a button in the center, and voilà—your fabric flower is done!
And just like that, you’ve made a fabulous fabric flower—no sewing machine required! Whether you’re using these to dress up a tote bag, embellish a gift, or create a whole bouquet of fabric blooms, the possibilities are endless. Once you start making these, don’t be surprised if you find yourself with a whole garden of them!
Hey, if you make some fabric flowers, I’d love to see them! Tag me on FB: HoldMyCoffeeIGottaMakeThis or IG: @igottamakethis so I can admire your beautiful blooms.